top of page
HOME
WEDDINGS & PRIVATE EVENTS
WEDDING AWARDS
GARDEN TEAS & TOURS
ACCOMMODATION
PHOTO SHOOTS
UPCOMING EVENTS
GALLERY
ABOUT ST AUBINS VILLAGE
TESTIMONIALS
CONTACTS & ENQUIRY
Log In
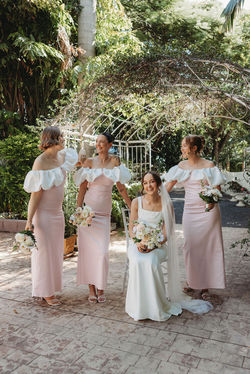
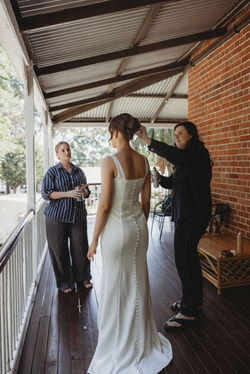
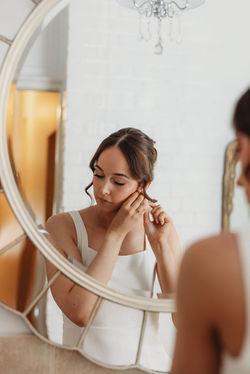
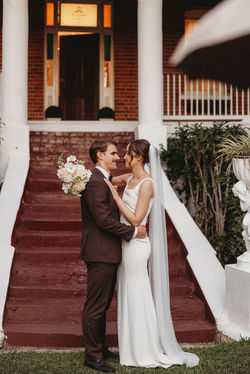
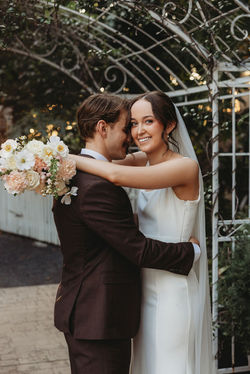
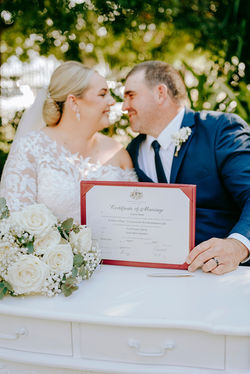
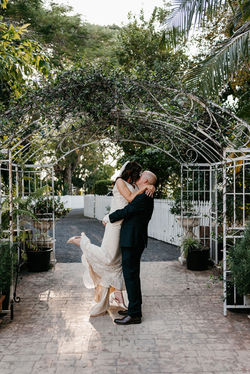
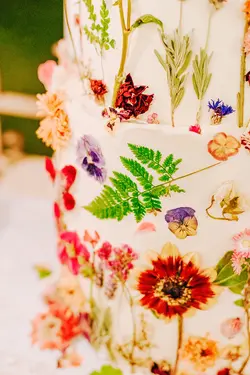
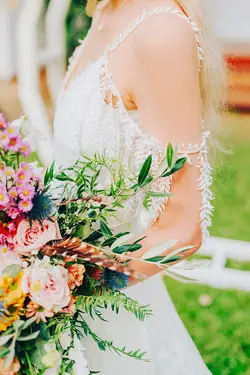
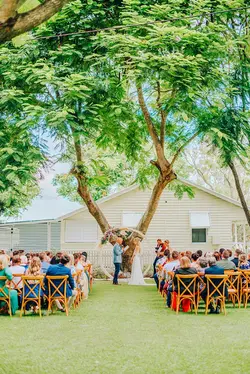
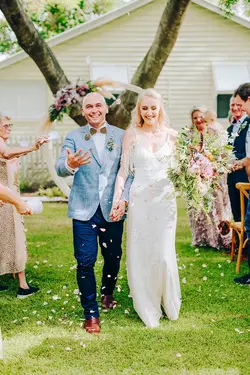
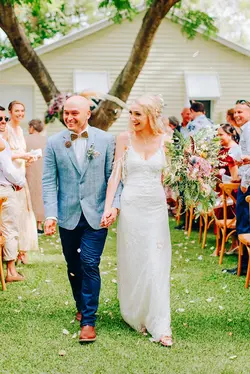
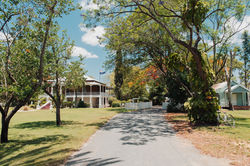
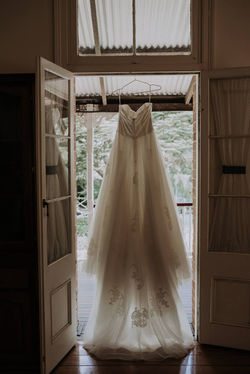
Wedding Gallery
Click on any photo to see full-size image
bottom of page